DIY Toddler Activity board (Busy Board)
Even before Nate was born Meg had pinned this cool DIY toddler activity board idea on Pinterest. Finally, back in October, I took to starting the project. If you take a look at the other board you will see that ours lacked any new creativity as I pretty much copied it. However, I did add my own little customizations. This post will focus on how you can level up on your toddler activity board. Let’s face it, if it works out you’ll be playing with just as much as your child. I know I do!
I didn’t just want to add latches, I wanted Nate to be able to interact a little more. Add something that would give feedback, a whole cause and effect type thing. Given my computer background and my penchant for being a huge nerd, the answer was clear. Wire it up with bells and whistles. Well, actually lights and switches but you get the idea.
So here is how I did it.
My toddler activity board plan
The goal was to get a board like the example we had seen. But I had to figure out how I was going to wire it up. So I drew up a few schematic diagrams and finally got the one I wanted.

Schematic diagram
Supplies
Now that I had a plan I needed the supplies. I headed down to KW Surplus to see what they had, and to my surprise they had everything any electronic hobbyist would ever need and more.

Todder Activity Board Supplies
Building the circuit
After I had all the essentials for making lights turn on it was time to put together my prototype to make sure what I had on paper would work in real life.
You may have noticed that in my supplies above I lacked a prototype board (bread board). Since high school I had kept a kit of all my electronic supplies thinking one day they may come in useful. However, no more than 6 months earlier we did some cleaning up and of course after all these years of not using it I tossed it… servers me right I guess.
Anyways, after I went back out to get a new breadboard I got to work creating the circuit.

Testing circuit on a breadboard
Solder on
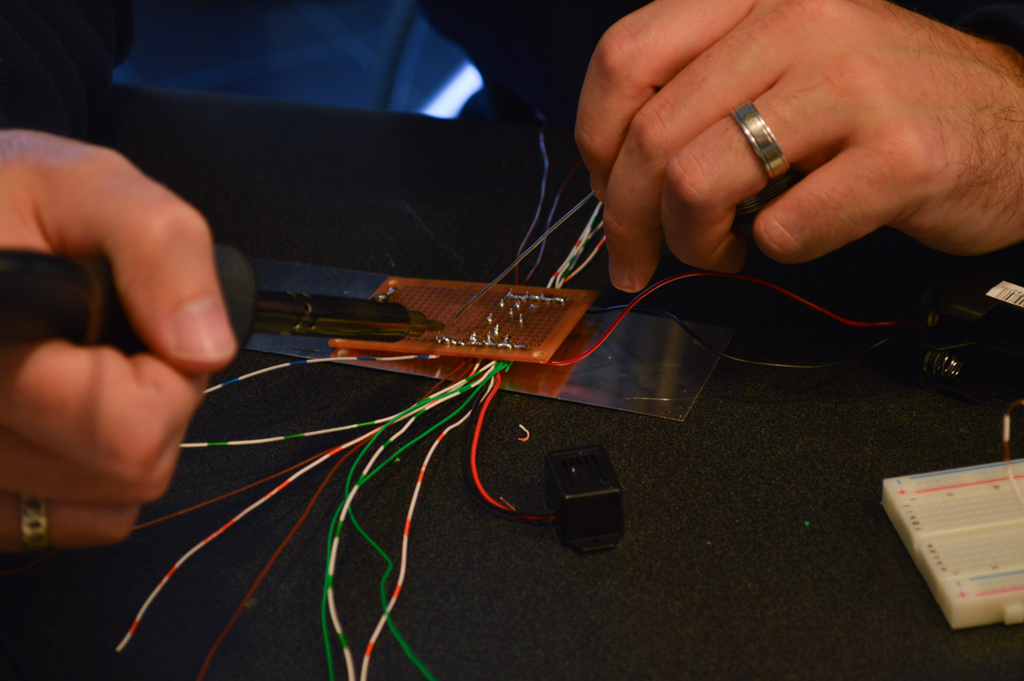
Soldering station (AKA kitchen counter)

Soldering action. Look Mom no burns!
With the prototype working as I expected it was time to make it permanent and solder it all together onto a board.
It had been a while since I had soldered a board so it took a little bit to get back the technique. After I finished with all the connections, it wasn’t quite working… it seemed like some of my connections were not goof enough. My technique just wasn’t good enough. However, by the end I felt like I had it. Luckily, I had purchased enough supplies to make the circuit again. This time I spread it out a little more and with a little more touch I had it working perfectly.
Building the board
I started with a piece of MDF (medium-density fibreboard) and laid out a grid on it. This helped me layout all my pieces. This was likely overkill but it let me plan it out better than just throwing things onto it.

Primed with the grid layout and holes cut
Once I had everything laid out the way I wanted I put a coat of primer on it and then made the mistake of painting it black first. For some reason, I thought I would add the yellow stripes on after… it’s like I never went to art class!

Don’t paint the busy board black first!
So after another couple of coats of primer to fix my mistake, I layered on the yellow paint and taped off my stripes.

Now it’s ready for black…
Unlike the example, we were working off from which didn’t have anything on the back of the board (like a circuit board), so I couldn’t just stop here. I needed a frame that would hold the insides off the wall. I used some extra pieces of the MDF and built a simple frame and painted it black. My thought was I could add a hinge and a look and get access to the batteries when the inevitably died.

Frame (before extra supports added)
With everything painted it was time to put it all together. Sorry, there aren’t many pictures from this part. By this point, I had already put in far too many hours into this project that I just wanted to get it done.
We used a piano hinge that would run the entire length of the frame and board. I figured this would make it a little more secure as the front MDF panel is pretty heavy. For the lock, I used a simple cabinet lock which I then had to use my circular saw to cut a little notch out of the frame where the latch could lock into.

Back of the door, with piano hinge

Slot made for lock
With everything added onto the board and the lights all working as expected it was time to get it on the wall. I used L brackets to first attach to a stud and then into the frame. Again this is heavy and I don’t want this to fall on Nate when he is playing with it.
Now part of the reason it took so long to put this post together was that I was waiting for the final touches to be completed. Since we love our wall vinyls so much (Giraffe and Family room) I wanted to add one to the top of the board (again similar to the example). We finally came up with “Caution: Kid-Struction”.
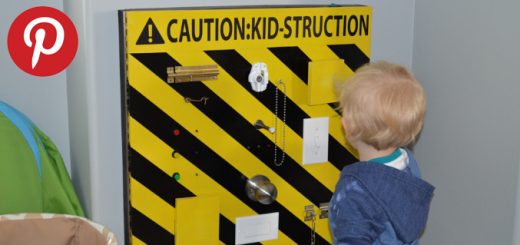
The finished activity board
Here it is in all of its glory.
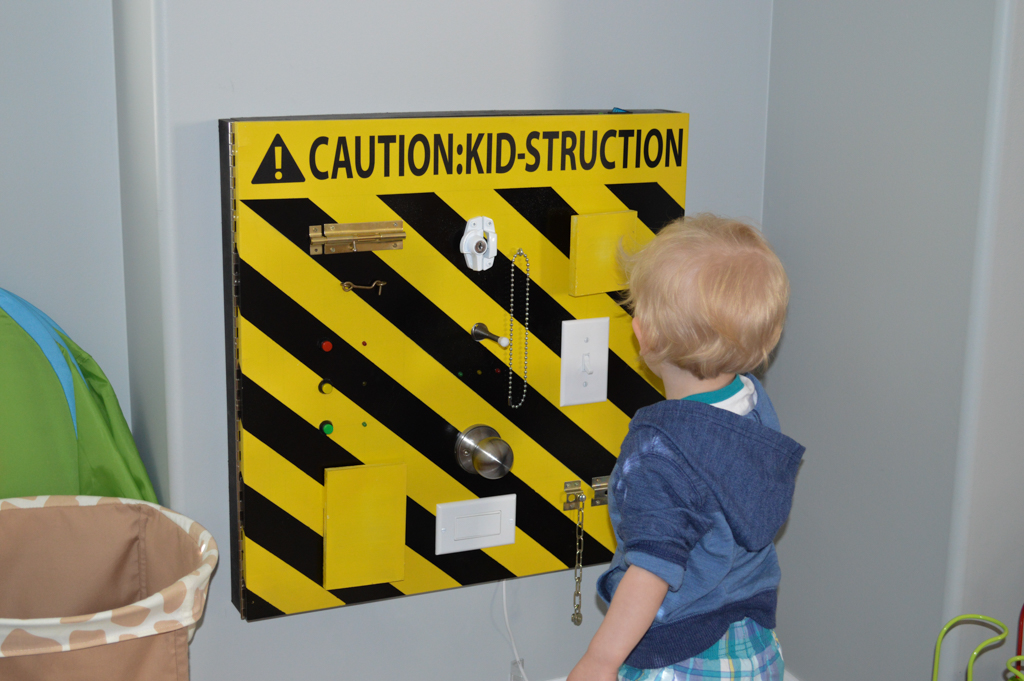
Caution: Kid-Struction
To see it in action I put together a short video to show you all the bells and whistles.
https://www.youtube.com/watch?v=X2xPi64PLVU
Over the past 6 months, Nate has played with his busy board a bunch. Perhaps not as much as I had hoped considering how much time I put into it, but he does like it. We can definitely see the wheels turning as he figured out how the switches worked. Surprisingly one of his favourite parts was the key and latch. His dexterity has gotten so good that many times he even put the key into the keyhole.
I hope you found this post helpful. If you build one yourself let me know, I would love to see what other people do.