Behind the scenes – Nathan’s Photo shoot
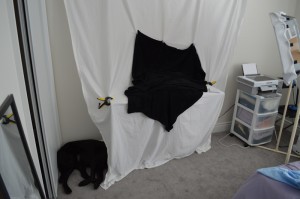
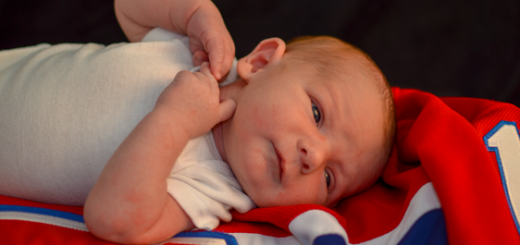
Here is a behind the scenes look at how we took those pics from Nathan’s photo shoot.
Equipment
- Nikon D3200
- Nikon AF-S DX 18-55mm kit lens
- Nikon AF-S DX 35mm f/1.8G Lens
- Tri-pod
- Harmony Remote
Set up
- White bed sheet
- Black blanket
- Homemade soft box (more on this if you are interested – let me know in the comments below
- TV (not shown)
- Trusty assistant (Guinness)

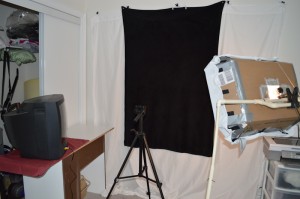
Here is a quick look at how we pulled off this shot.
This one was tricky since both Meg and I are in the shot holding Nathan, so we had to get tricky.
First I needed a way to remotely fire the camera. The Nikon D3200 has a remote you can purchase for this but I just had a kid and I’m on a budget. Enter my existing Harmony One remote. This thing is amazing for my home theatre and I knew it did so much more. What I was surprised by was that I could program it for my camera, PERFECT!
The next obstacle was i wasn’t able to be behind the camera to see the shot. Thankfully the camera came with a cable to connect to a TV through RCA inputs. Now I was lucky to still have my 15 year old 19″ CRT TV still, as I couldn’t move my 60″ LED off the wall and into the tight space of the “studio”. So with that set up I could be in front of the camera and I could still see the shot. Once I had the shot I was able to hit the remote to take the photo! Voilà!
